
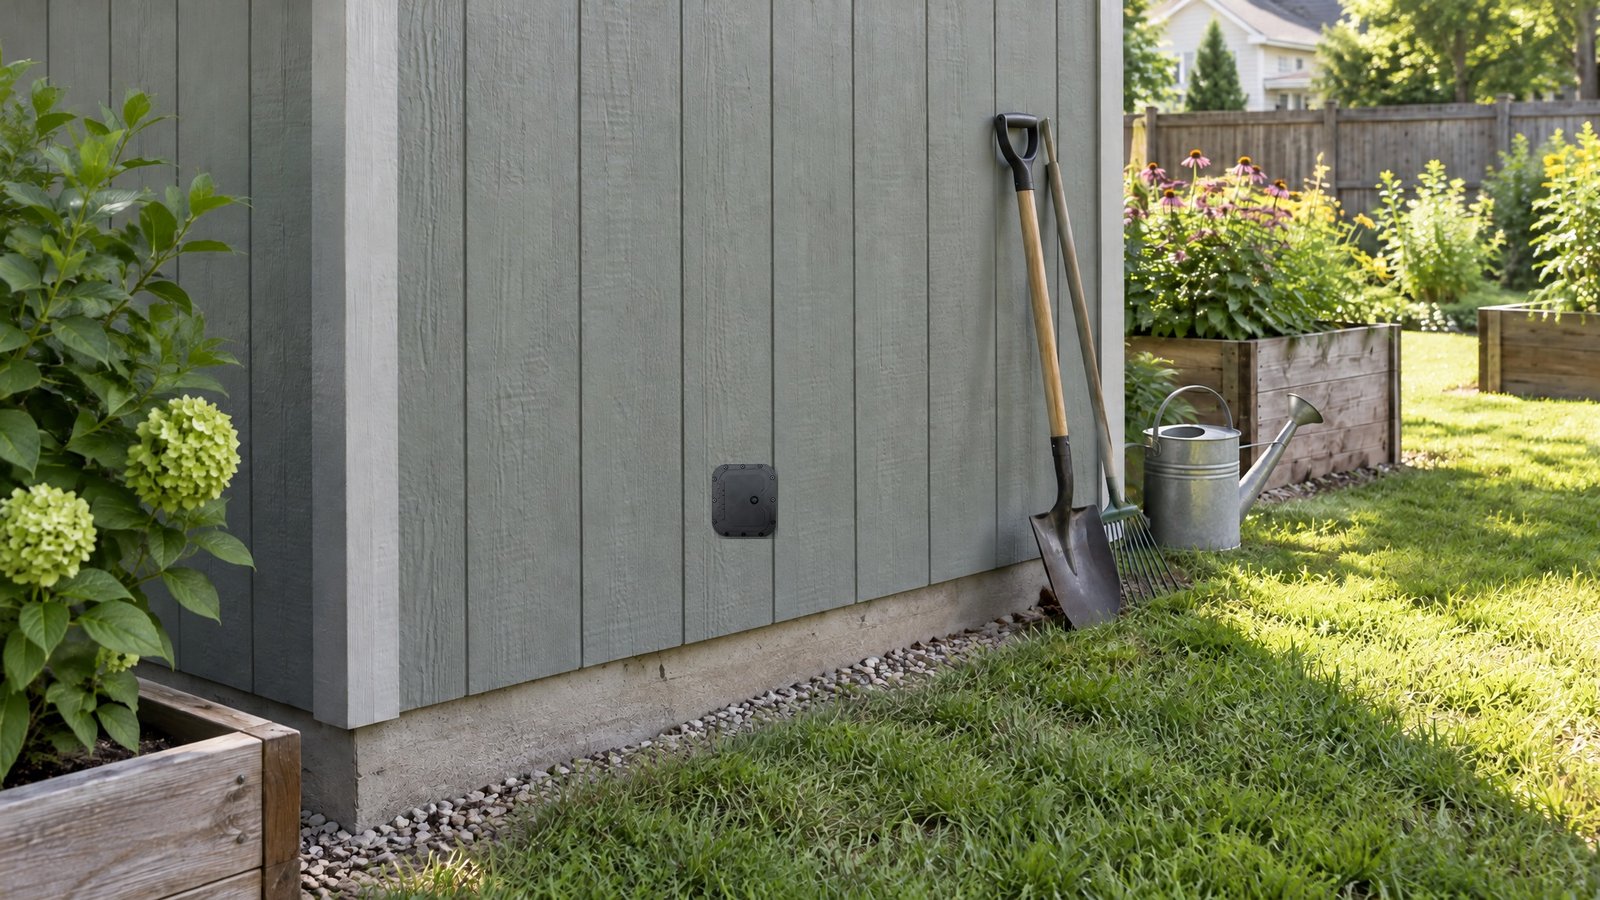
Locking Hatch for Sheds & Backyard Workshops
Secure access to your shed without opening the door.
Run power cords, air lines, or garden hoses through a tamper-resistant hatch mounted right in the wall of your shed or workshop. Lock it when you are done — no more leaving the door propped open.
Popular DIY Uses
- Power cord pass-through for lights or a heater
- Garden hose or air line routing
- Outside access to a generator or battery bank
- Pet or chicken-coop waterer line
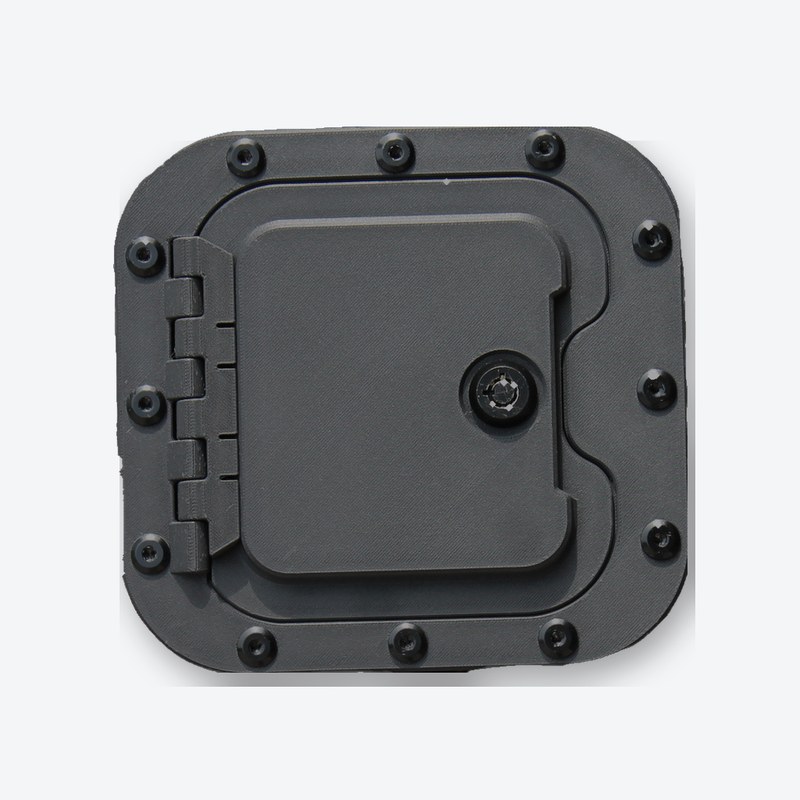
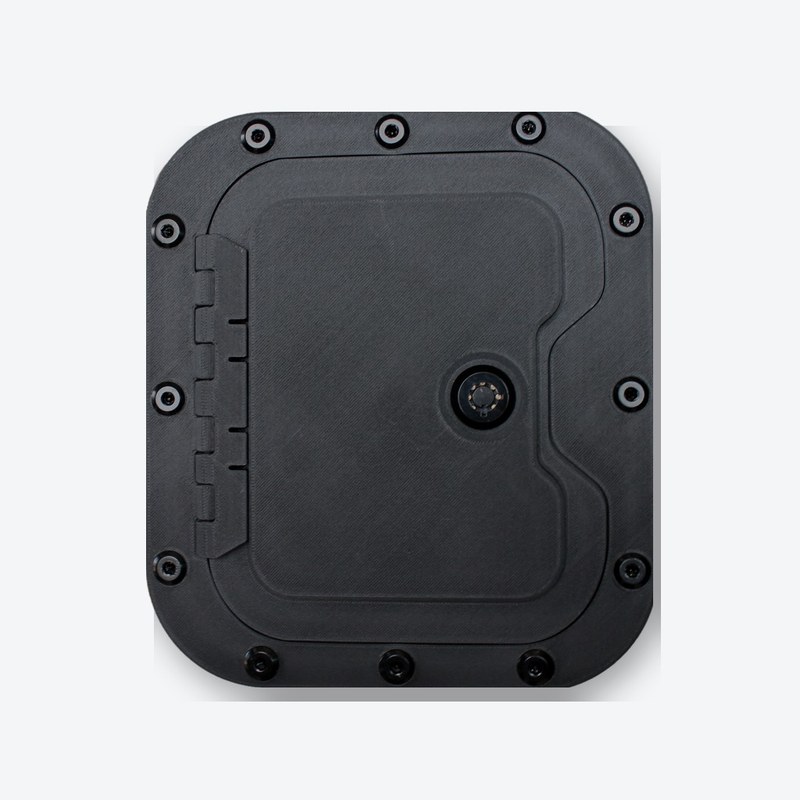
Which size? Most sheds use the Small door. Go Large if you are passing bulky plugs or want room to reach in.
Why a Locking Hatch?
Recommended Products
Sheds & Workshops — FAQ
Can I put a locking hatch in T1-11 or LP SmartSide shed siding?
+
Yes. Pre-drill pilot holes, seal the flange with exterior-grade silicone, and fasten with #8 × 1" stainless wood screws. Keep the cutout clear of studs.
Which size should I buy?
+
Both rectangular doors use a 4-7/8" wide opening. The Small door needs a 5-1/8" tall opening; the Large door needs a 6" tall opening for a little more room to reach in or pass bulkier plugs and fittings. If you want more than one opening, the Small 2-Pack and 3-Pack are keyed alike.
What tools do I need?
+
A drill, a jigsaw or oscillating multi-tool (or a step bit and nibbler for sheet metal), a tape measure, exterior-grade sealant, and the right screws for your wall. Print our true-scale template so the cut lands exactly right.